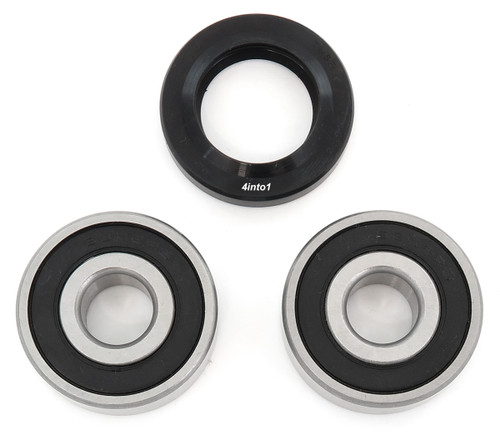
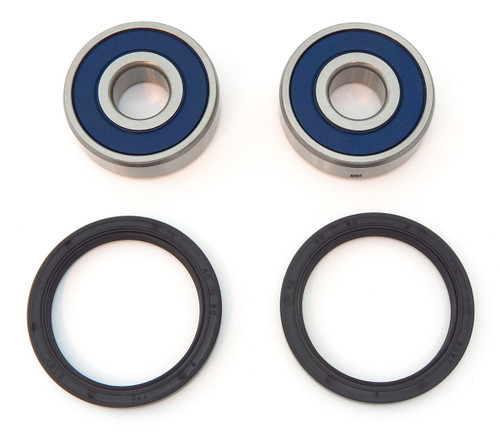
All Balls front wheel bearing and seal kit for the models listed below. Kit is also a rear wheel bearing kit for the 2 models listed. See fitment list for details. Includes two quality KML sealed wheel bearings and two double lip seals. Everything you need to get your wheel spinning free again like new! This set comes with an extra seal depending on your application. Does not include speedometer drive seal.
All Balls Number: 25-1319
Includes:
6302 bearings x2
26 X 42 X 7 (30-4208) seal x1
40 x 50 x 5 (30-5006) seal x1
Fits Honda Front Wheel:
CB160 Sport- 1965-1969
CL160 Scrambler - 1966-1968
CA175 Touring - 1968-1969
CA175 Super Sport - 1969-1970
CB175K Super Sport - 1969-1973
CL175K Scrambler - 1968-1973
CM185T Twinstar - 1978-1979
CM200T Twinstar - 1980-1982
CB250 Nighthawk - 1991-2008
CM250C Custom - 1982-1983
CR250M Elsinore - 1973-1976
CB350K Super Sport - 1968-1972
CL350K Scrambler - 1968-1973
CJ360T - 1976-1977
CL360 Scrambler - 1974-1975
CB400A Hondamatic - 1978
CB400TI Hawk I - 1978-1979
CB400TII Hawk II - 1978-1979
CB400T Hawk - 1980-1981
CM400A Hondamatic - 1979-1981
CM400C Custom - 1981
CM400E - 1980-1981
CM400T - 1979-1981
CB450SC Nighthawk - 1982-1986
CB450T Hawk - 1982
CM450A Hondamatic - 1982-1983
CM450C Custom- 1982
CM450E - 1982-1983
CX500 - 1978-1979
CX500C Custom - 1979-1982
CX500D Deluxe - 1979-1981
FT500 Ascot - 1982-1983
GB500 Tourist Trophy - 1989-1990
XBR500 (Euro) - 1987-1988
Fits Honda Rear Wheel:
CM250C - 1982-1983
Fits Yamaha Rear Wheel:
YZ80 - 1982-1983
All Balls Installation Instructions:
Bearing Removal
Use a long punch (should have a good edge) Remove any Circlips or retainers. Insert the punch into the wheel and catch the edge of the bearing on the other side. Using a hammer, hit the punch and work around the entire circumference of the bearing. The bearing and seal will eventually be pushed out of the wheel hub. The second bearing can be removed using a punch, a long socket or other suitable driver. Note: The bearings will be damaged during the removal process and should not be reused. The hammer blows transmit their impact through the balls causing small flat spots, which will cause the bearing to quickly fail if reused.
Inspection
- Inner Spacer: Check the bore to make certain it is clean and the axle easily passes through it. Check each end for wear and burrs. The edges must be square to seat properly against the new bearings. If the old bearings failed it is a good idea to confirm that the center spacer has not been damaged. Make sure the inner space is the same length or slightly longer than the bearing stops in the hub or carrier.
- Wheel Hub: Clean the hub, removing any dirt and corrosion. Make certain not to remove metal. This will adversely affect bearing fit.
- Outer Wheel Spacers: Clean the outer wheel spacers and inspect them for wear on either end as well as wear on the outer surface where it makes contact with the seal. If the spacers are excessively worn they should be replaced.
Bearing Installation
- Note 1: Improper installation can cause bearing damage and dramatically reducing bearing life.
- Note 2: Heating the wheel hub will cause the hub to expand slightly and will make bearing installation easier.
2 Reviews Hide Reviews Show Reviews
-
Bearing worked perfectly
Quick delivery and perfect fit. Love the sight and will do much more ordering from you guys!!
-
Nice quality
Perfect product but install VERY carefully.


